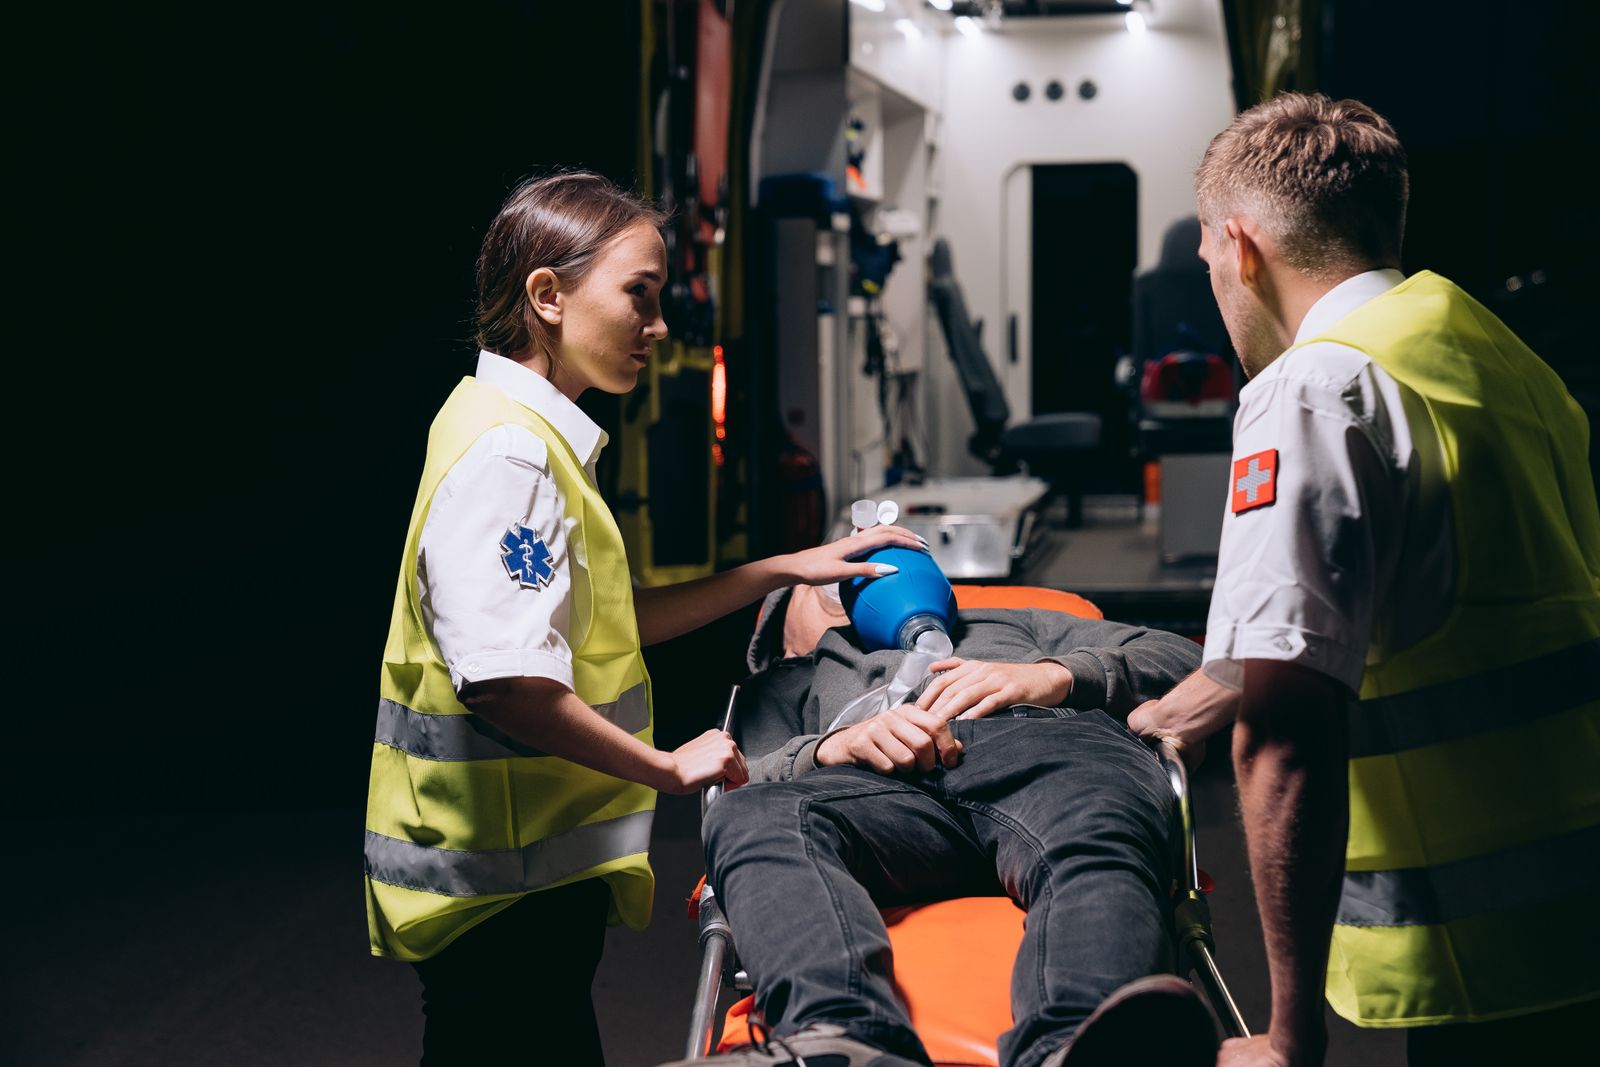
VR Simulation
The standalone CPR simulator you build and configure yourself.
Create your own scenarios in a web editor — adult, paediatric or neonatal patients; bleeding, choking and the hazards you choose — then run them in VR or in-app. Still standalone, still hand-tracked, now configured exactly the way you teach.
Web-based authoring
A web editor to create and customise every case.
From any browser, your educators assemble the scenario step by step: the patient, the setting, the complications, the language. Save it as a template, tweak it for the next group, and push it straight to the headsets — no code, no waiting on us.
What you configure
- Patient type — adult, paediatric, neonatal
- Setting — home, street, shopping mall, pool
- Bleeding, choking and secretions
- Hazards such as broken glass
- AED and rescue breaths
- Built-in quizzes and the session language
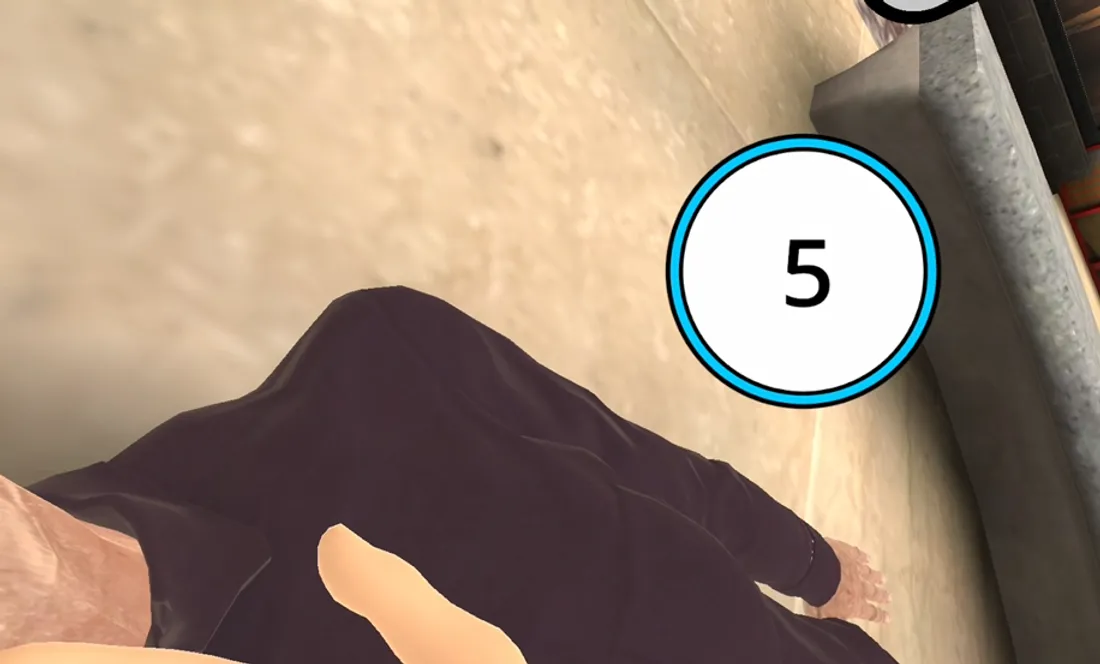
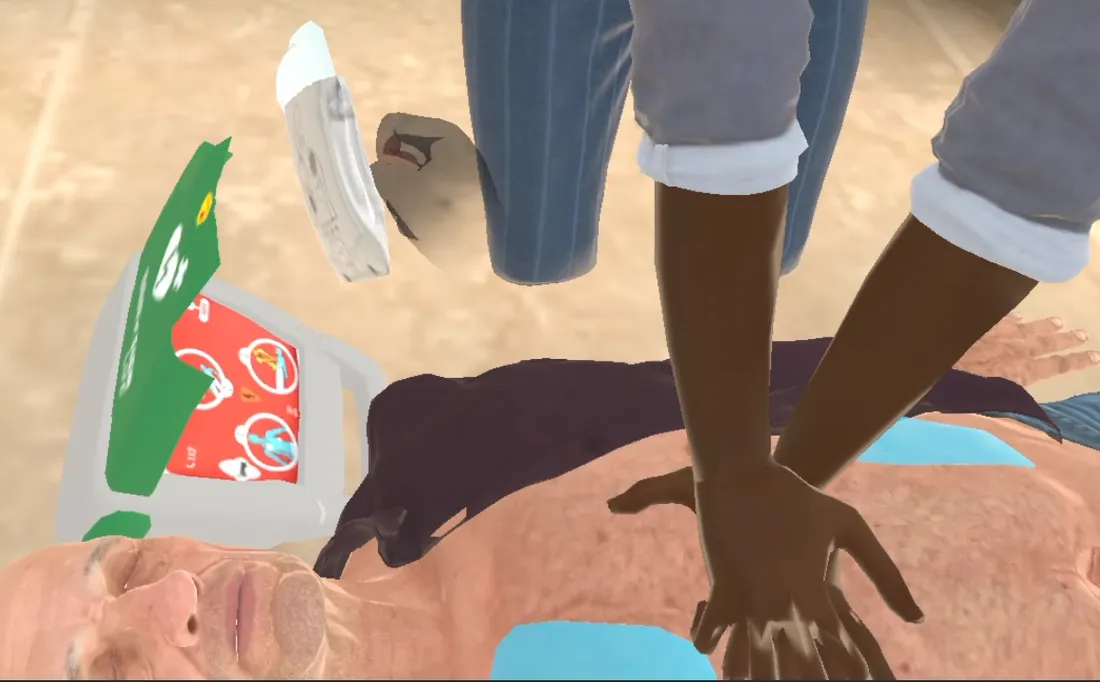
Through the lens
See exactly what your students see inside the headset.
This is the live simulation running on the headset — not a render. Bare hands, a virtual patient that responds, and real-time feedback on every compression.
- Chest compressions
- Airway & breathing
- AED / defibrillator
POV capture — CPR & Emergencies simulation.
The protocol, step by step
The full resuscitation sequence — exactly as students run it.
From securing the scene to the AED shock, every step is performed by hand and guided by on-screen holograms. This is the sequence the simulation walks students through.
-
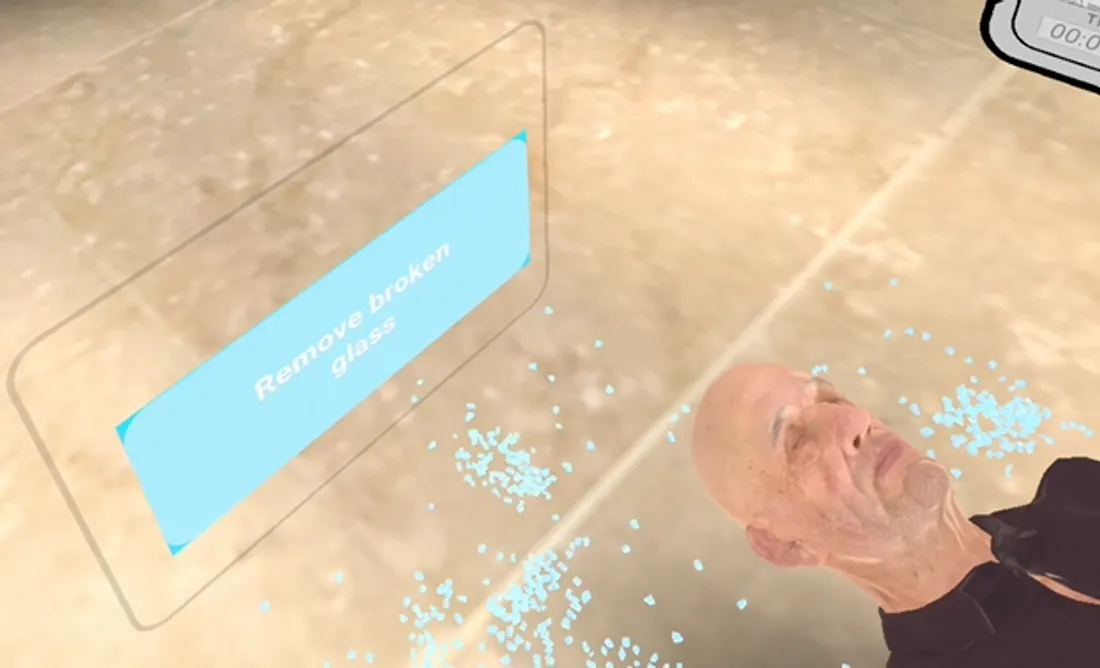
Clear the scene
Remove broken glass and hazards around the casualty — the scene has to be safe before anything else.
-
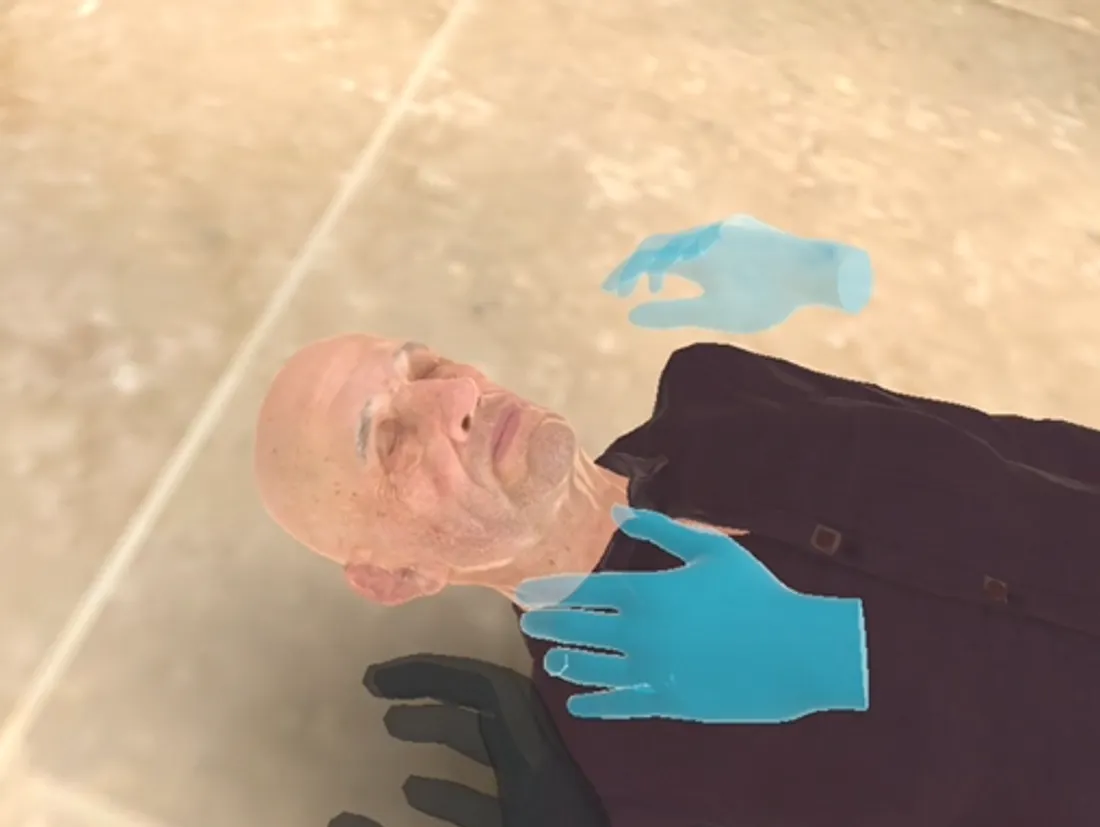
Check responsiveness
Place your hands on the hologram cue and shake the casualty by the shoulders to see whether they respond.
-
Call for help
Raise both arms to call for help. Bystanders may step in — or, if you are alone, you call the emergency number yourself.
-
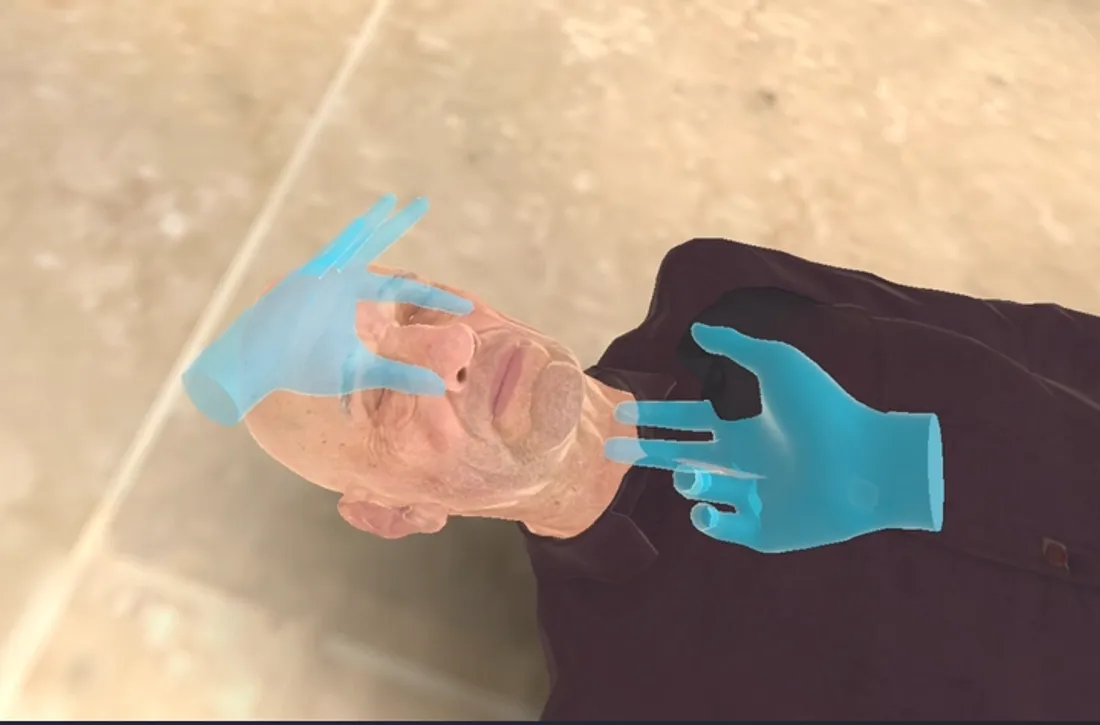
Open the airway
Follow the hologram to tilt the head and open the airway.
-
Check breathing
Bring your ear close to the mouth for five seconds and watch the chest to confirm whether they are breathing.
-
Expose the chest
Touch the casualty's shirt to open it and expose the chest for compressions and the AED pads.
-
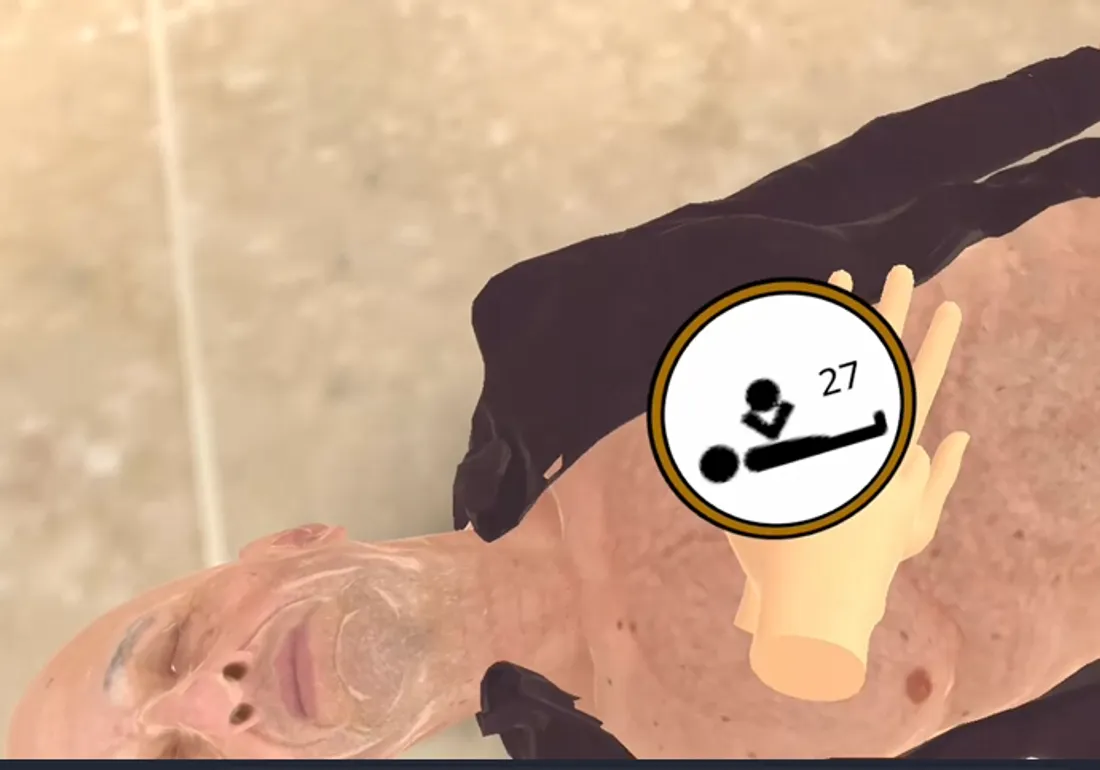
30 compressions, 2 breaths
Place your hands exactly on the hologram and give 30 chest compressions, then two rescue breaths — the core CPR cycle, repeated.
-
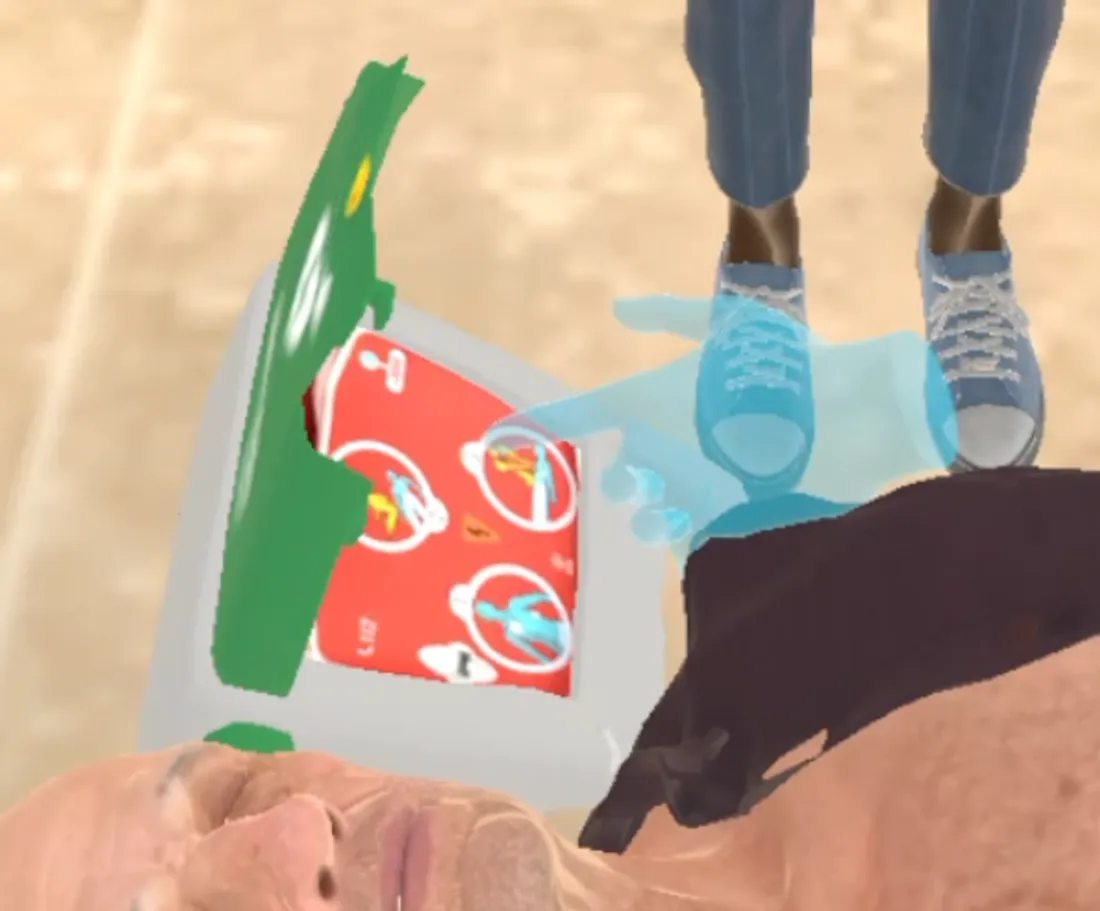
Use the AED
Apply the pads as the holograms show, press the button to deliver the shock, and resume compressions until the casualty recovers.
What makes it different
-
Hand tracking — no controllers
Students use their bare hands. The simulation tracks compression depth, rate, hand position, and technique in real time — giving feedback the way an instructor would, but automatically, for every student, every session.
-
Fully standalone
No PC required. No special mannequin. No calibration. Runs directly on the VR headset. Set up in minutes, deploy in any space.
-
Adapts to any mannequin
Already have CPR mannequins? The simulation works alongside them. Or use it without any physical mannequin at all — the virtual patient responds either way.
-
Language-specific sessions
Run sessions in English, Spanish, or other supported languages. Every instruction, feedback prompt, and debrief is delivered in the learner's language.
Session modes
Two ways to run a session.
-
Single user
One student, one headset. Independent practice at their own pace, with automatic feedback and a full performance record at the end of each session. Ideal for self-directed study and assessment.
-
Classroom projection
The instructor projects what the student in the headset sees to a classroom screen. The whole group observes, discusses, and learns together. Ideal for demonstrations, debriefs, and group teaching.
How a session runs
Every session follows the same loop — until it becomes second nature.
From the first scene assessment to the debrief, students run the full sequence as many times as they need.
- 01
Assess
Read the scene
The student arrives on the emergency, checks responsiveness, and calls for help — the first decisions that shape everything that follows.
- 02
Act
Compressions & airway
Hands-on CPR with live feedback on depth, rate, and hand position, plus airway management — corrected the moment technique slips.
- 03
Decide
Use the AED
The student attaches the AED, follows the prompts, and decides when to shock — practising the judgement that counts under pressure.
- 04
Debrief
Review the performance
Every action is recorded. At the end, student and instructor review technique, timing, and protocol adherence — no guesswork.
Scenarios & variants
Same protocol, different pressure — two settings and three levels of help.
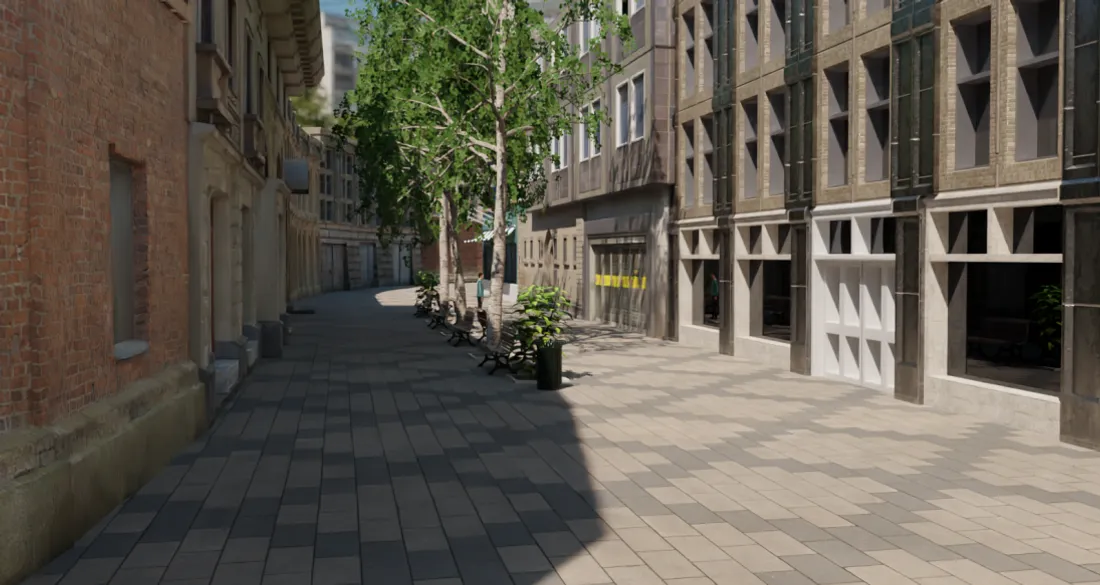
Street — outdoor emergency
A busy city street: open space, passers-by, and the unpredictability of an emergency out in the open.
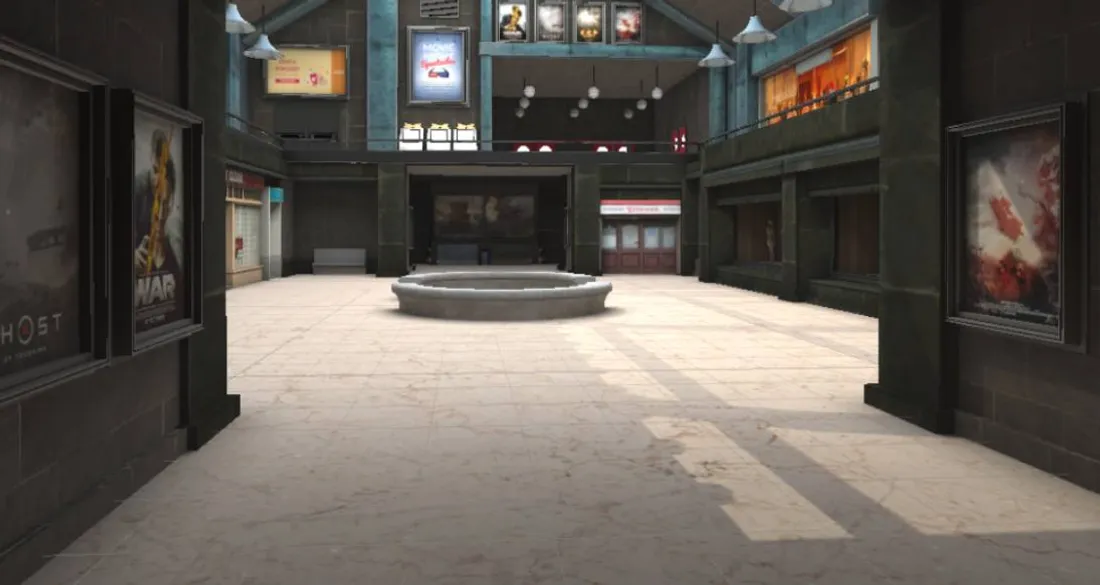
Shopping mall — indoor emergency
An enclosed public space with bystanders around — a different layout and a different kind of pressure.
Alone — nobody around
No one comes to help. The student calls the emergency number and runs the full resuscitation single-handed.
Bystanders place the AED pads
A bystander brings the AED and places the pads while the student manages the rest of the sequence.
A bystander takes over compressions
One bystander performs the compressions while the student places the AED pads — coordinating a two-rescuer response.
What it covers
CPR & Basic Life Support
Full cardiac arrest sequence — scene assessment, call for help, chest compressions, AED use, and airway management. Real-time feedback on depth, rate, and hand position. Single and two-rescuer protocols.
First aid scenarios
Trauma assessment (ABCDE approach), bleeding control, fracture management, burns, anaphylaxis, and choking. Realistic patient presentation with changing parameters.
VR RESCUE
A large-scale flood with multiple casualties at different severity levels. Students apply the START triage protocol, prioritise patients with limited resources, and coordinate team response under time pressure — in a scenario that replicates the complexity and chaos of a real mass casualty event.
Who it's for
- Health sciences university programs
- Nursing and paramedic training
- Hospital emergency staff
- Civil protection and first responder organizations
- Health sciences vocational programs
- CNA programs
GET STARTED
See it with your own hands in a demo.
No other CPR simulator works like this. The fastest way to understand why is to try it — we'll set up a session with your team in 20 minutes.
Thanks — we’ve got your request.
We’ll be in touch within one business day.